Your Cart is Empty


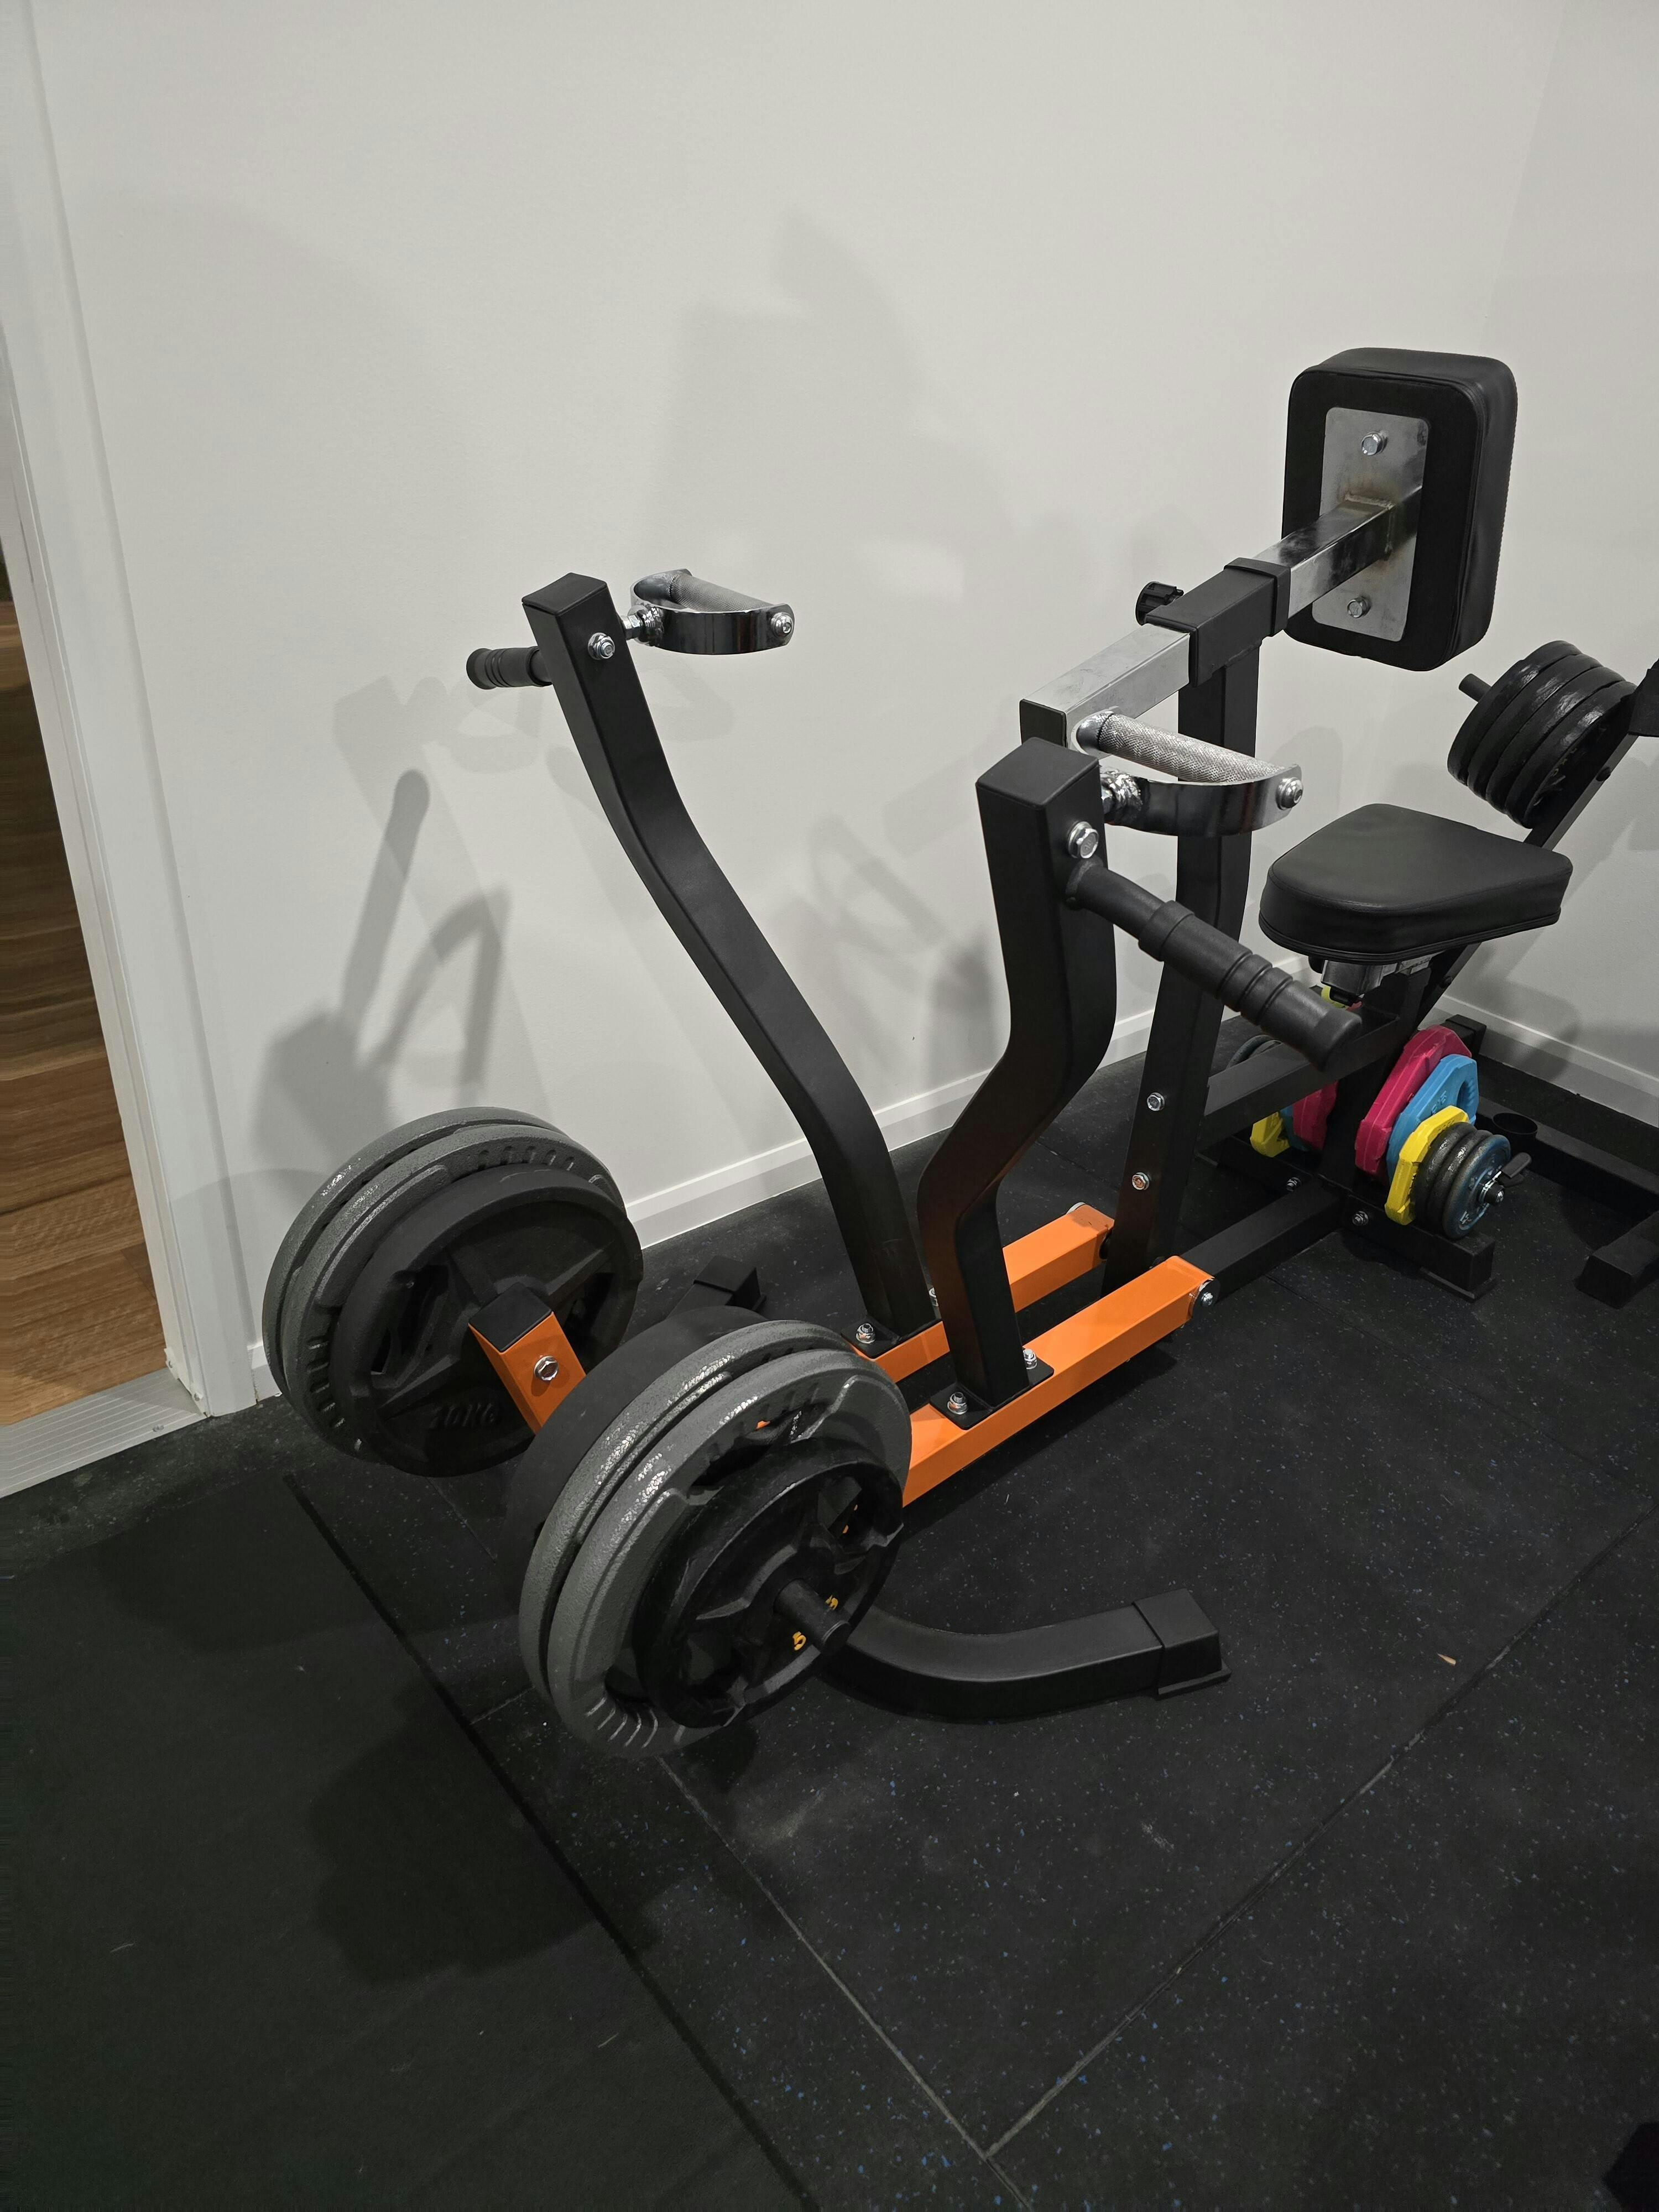
I'm happy with the build quality, and the machine looks nice in my gym, but please be aware (especially if you have small children) that if you load up the sleeves with heavy weights, it becomes very unevenly weighted towards the front and will tip or flip forwards if there is downward pressure at the front, or someone elevates the back seated area slightly.
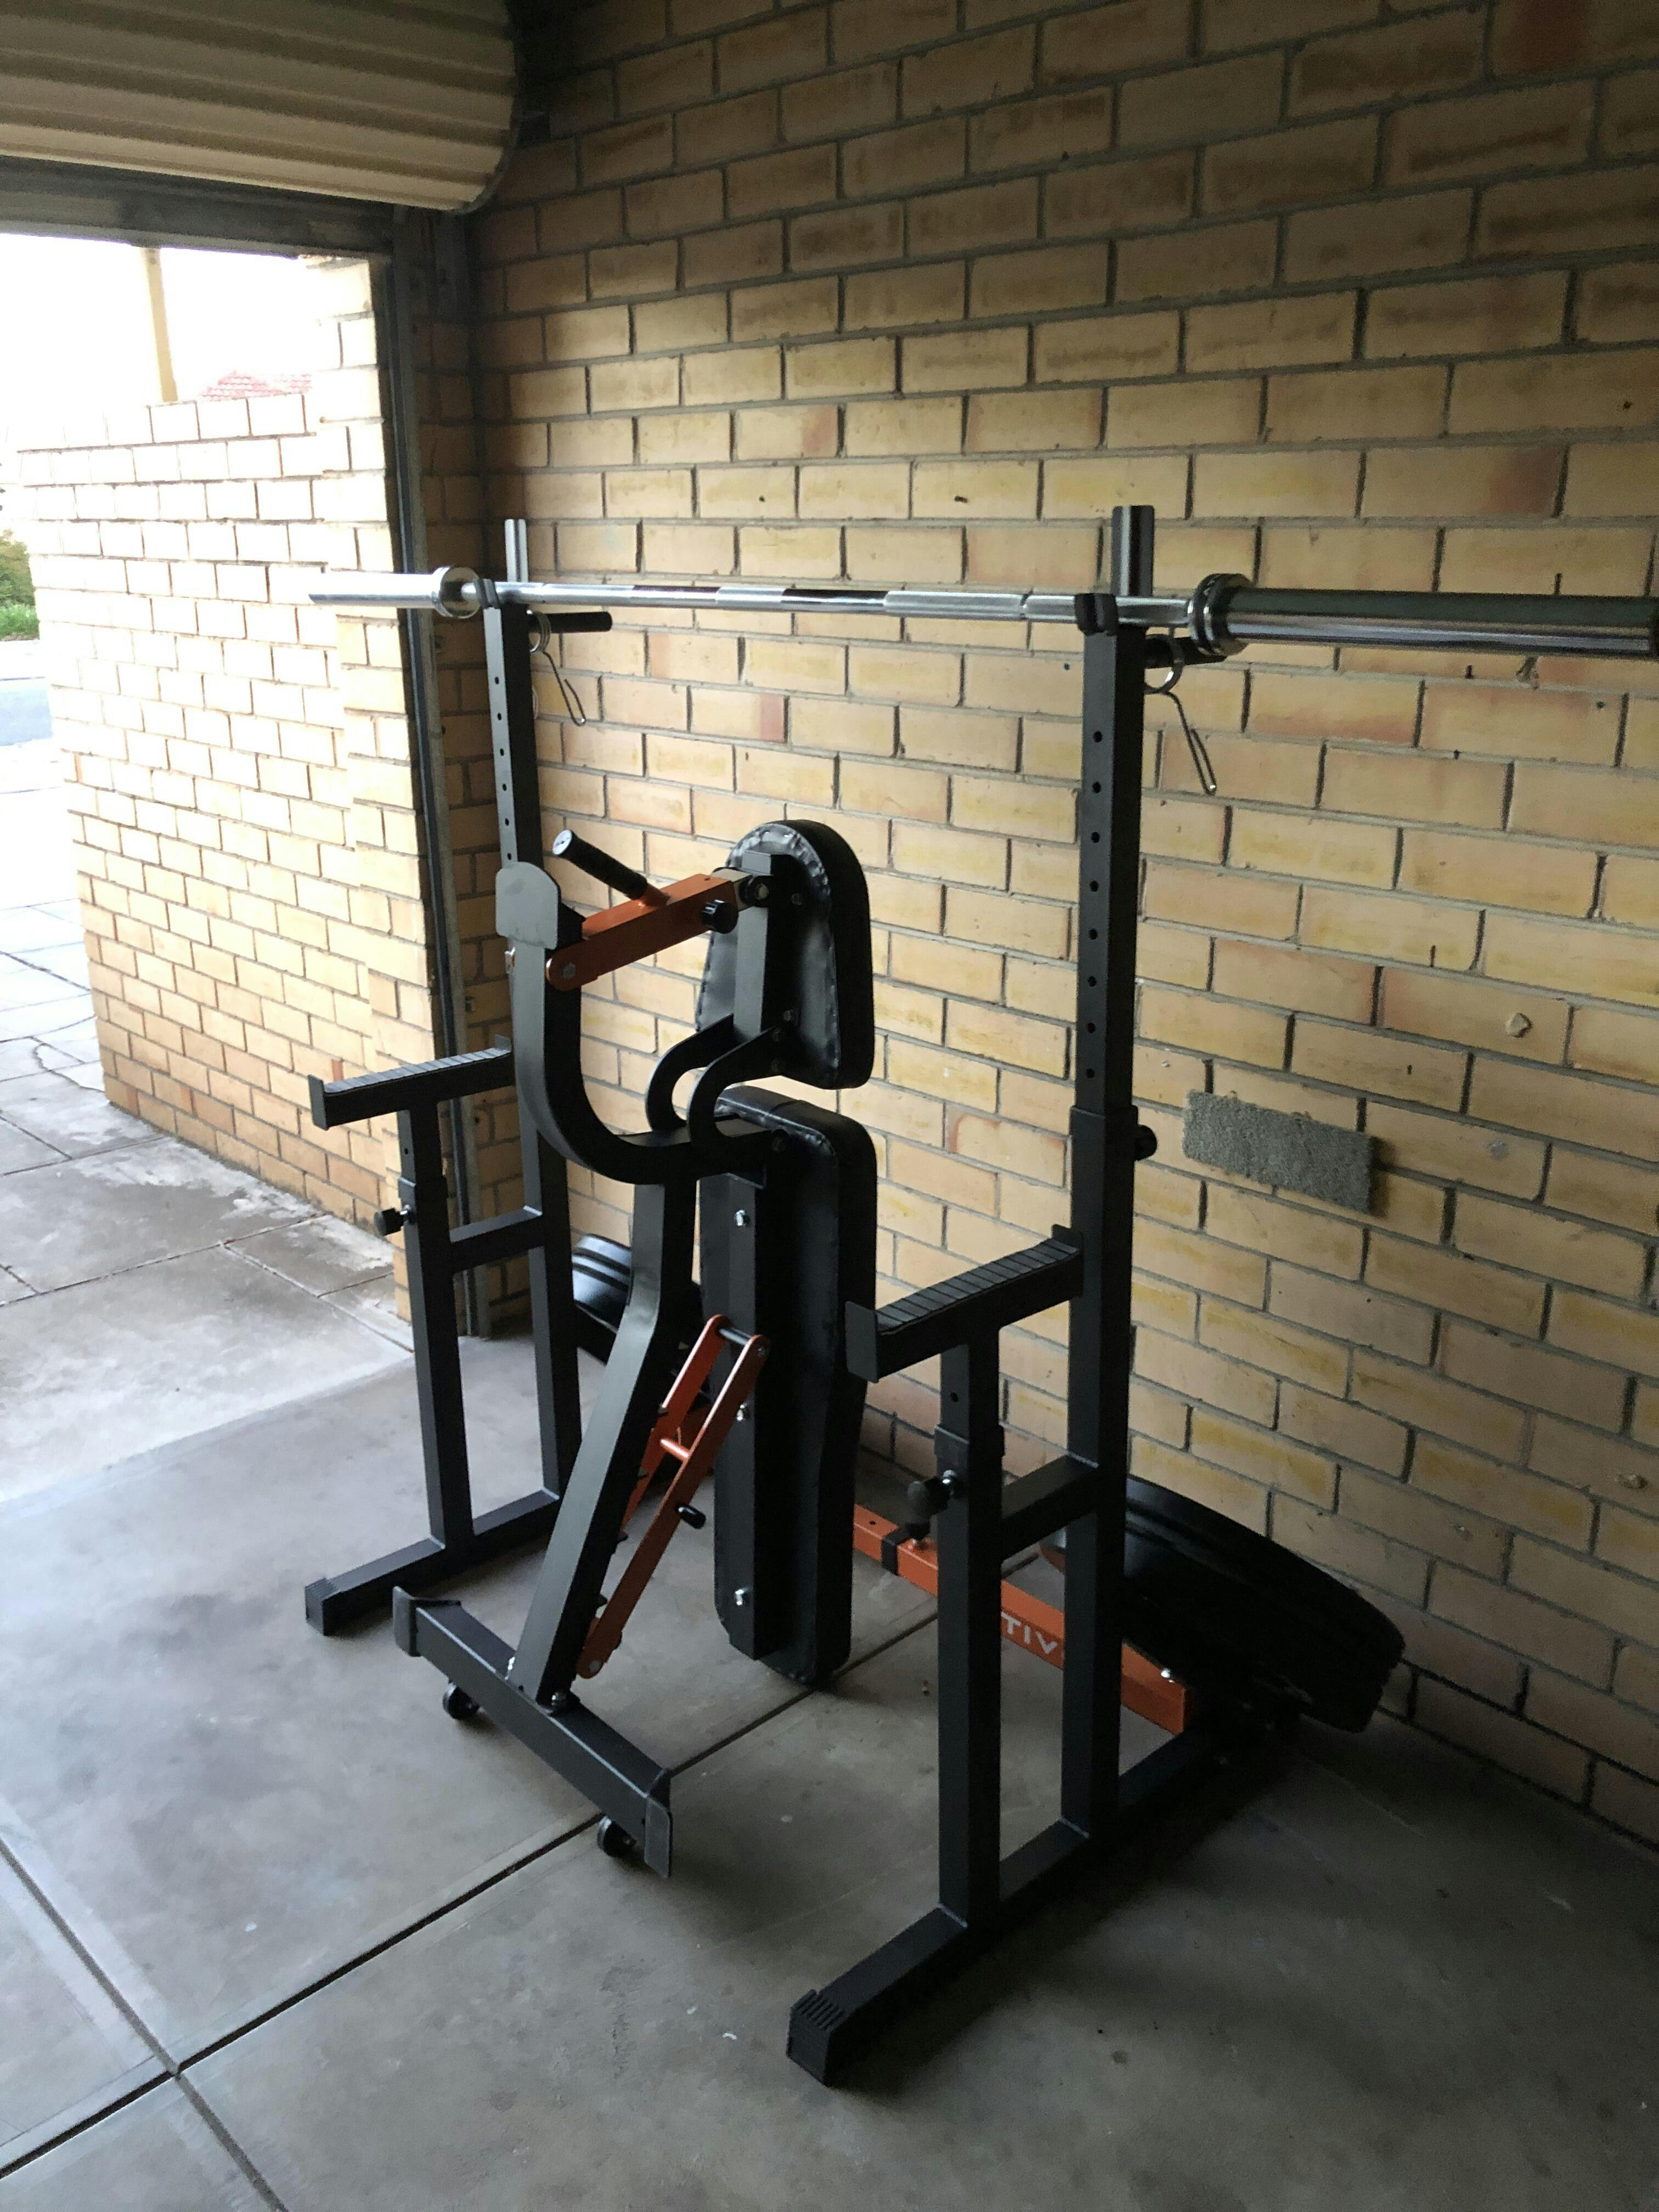
Someone in one of the other reviews questioned what the roller thing under the seat is for... I have no idea either, but it was a good work around for this safety issue. Take the roller foams off, and it becomes a 25mm sleeve, enough to fit some 1.25kg plates or bigger plates with side holes. This will redistribute more torque toward the rear of the machine, reducing the tip over risk.
See pictures for example.

Quality product. Instructions were very detailed and small so took a while to put together however definitely worth the time. Highly recommend. Fantastic online experience with company. Excellent delivery service with updates along the way. Many thanks.
I'm a single mum with absolutely no experience in assembling equipment. I felt nervous when 3 large boxes arrived and I unpacked all the pieces. My worries were soon put at ease as I just worked through it one step at a time. The quality for the price paid is exceptional. While the cables could flow a little smoother it's certainly a great machine to have in the garage and I find I have to now fight my teenage son to be able to use it!

Great purchase, good quality and easy to assemble. Quick delivery too. Perfect for garage. Don’t take too much space either. Was bit hesitant to purchase but no regrets now.
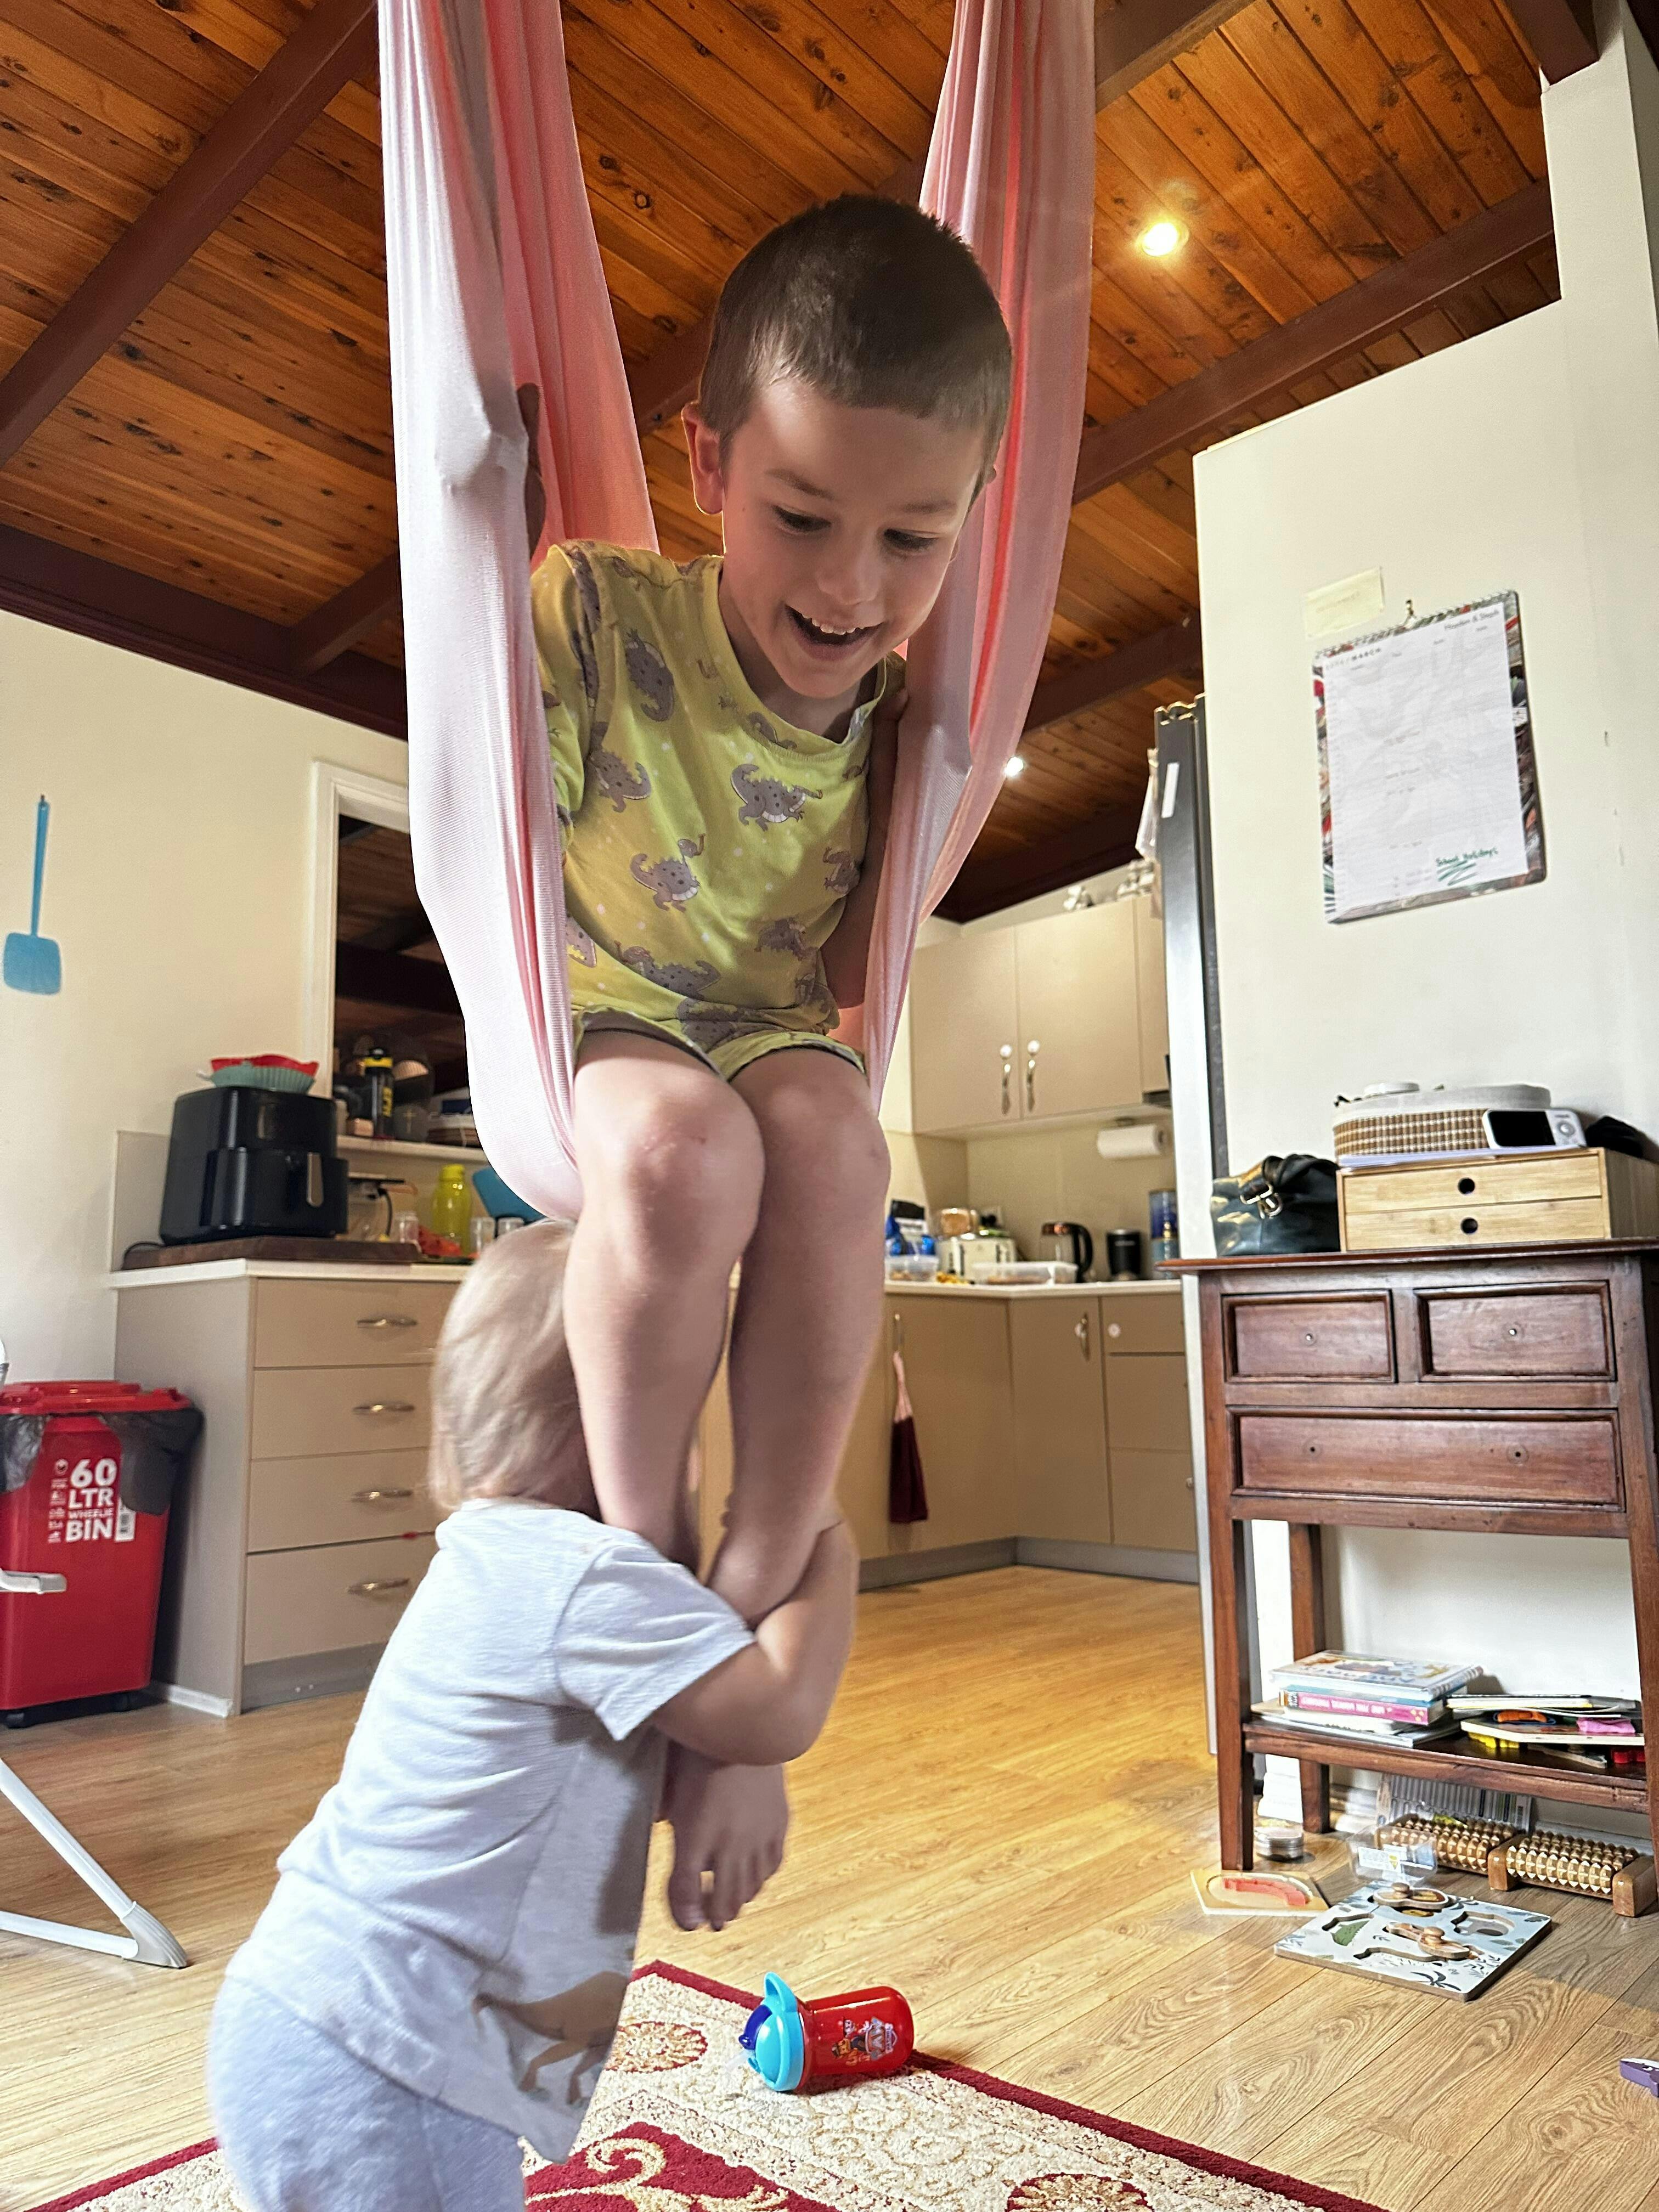
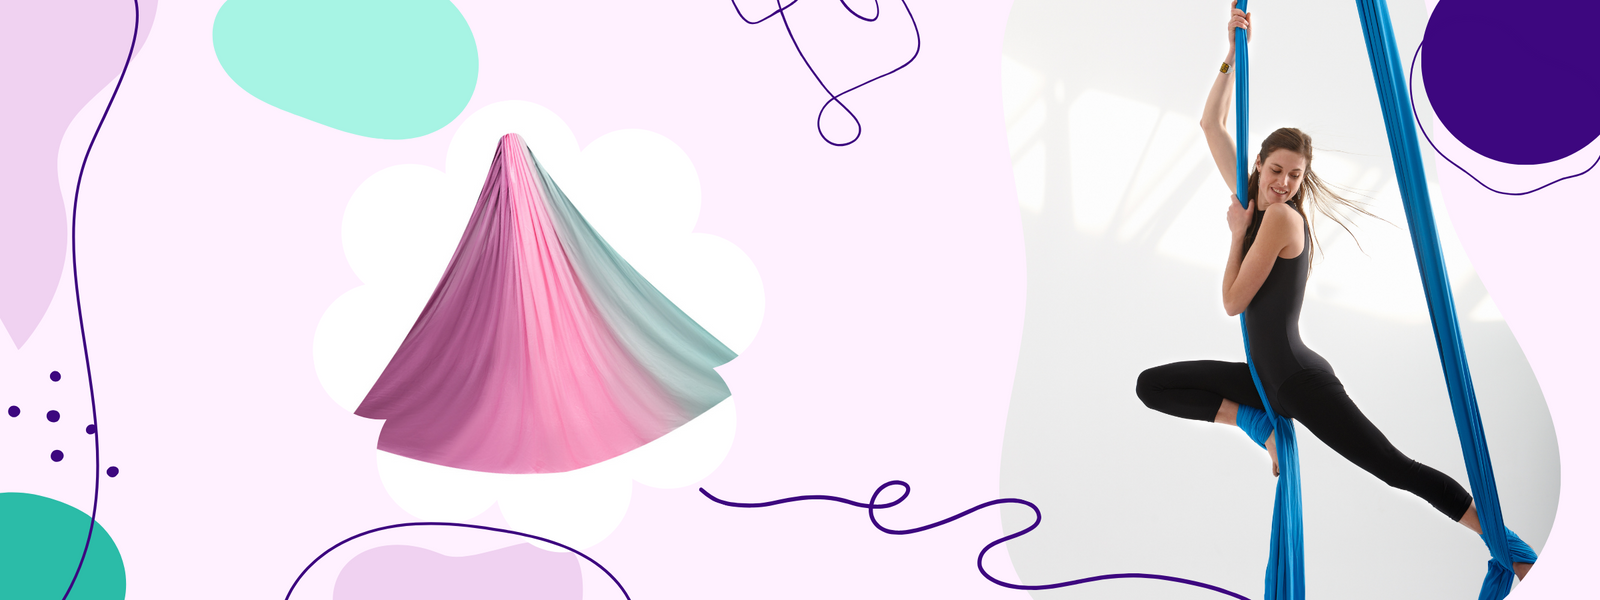
Great product and on the stretchier side of hammocks, just by a smidge. I ordered the pack with the daisy chains and carabiners, I’m glad I ordered extra carabiners as I attached the hammock to the carabiners and it ended up covering most of the part you open to attach to the daisy chain making it difficult to adjust the height, it gets caught on it and it’s so tight (which is a good thing!) So I attached another set of carabiners to the carabiners and now I can adjust the height with ease. The kids love it too!